


Earring Making Instructions
>>Download PDF and Print<<
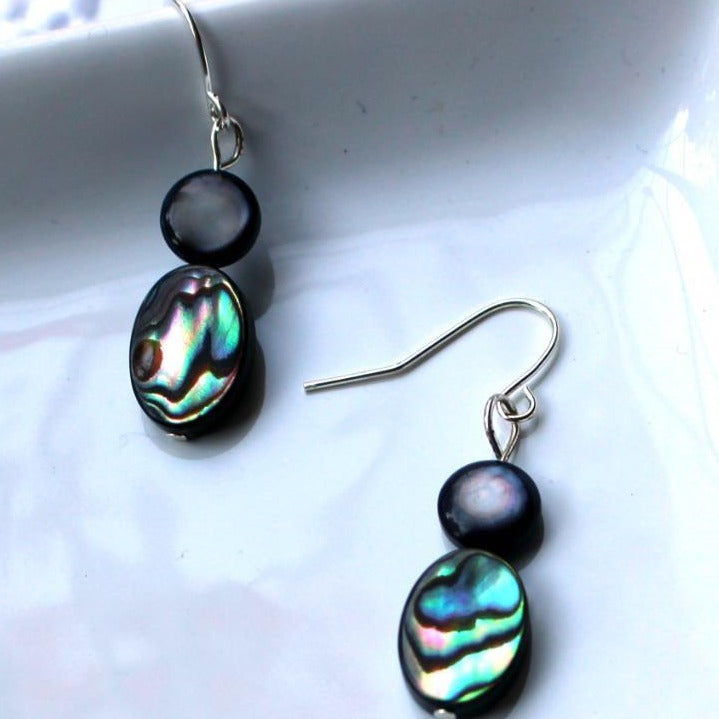
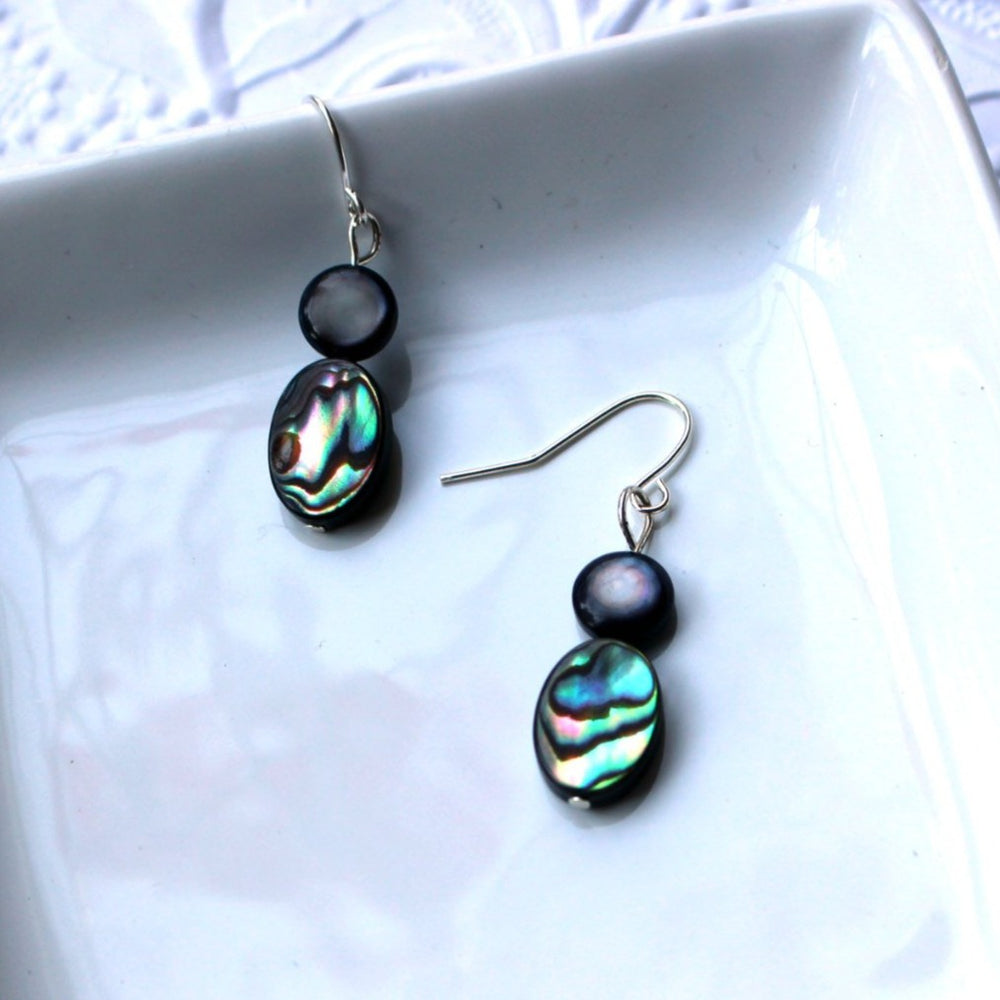
Creating earrings using flat head pins is a fun and straightforward jewelry-making process. Here's a step-by-step guide:
Materials Needed:
- Flat head pins (length will depend on the design)
- Beads, charms, or other decorative elements
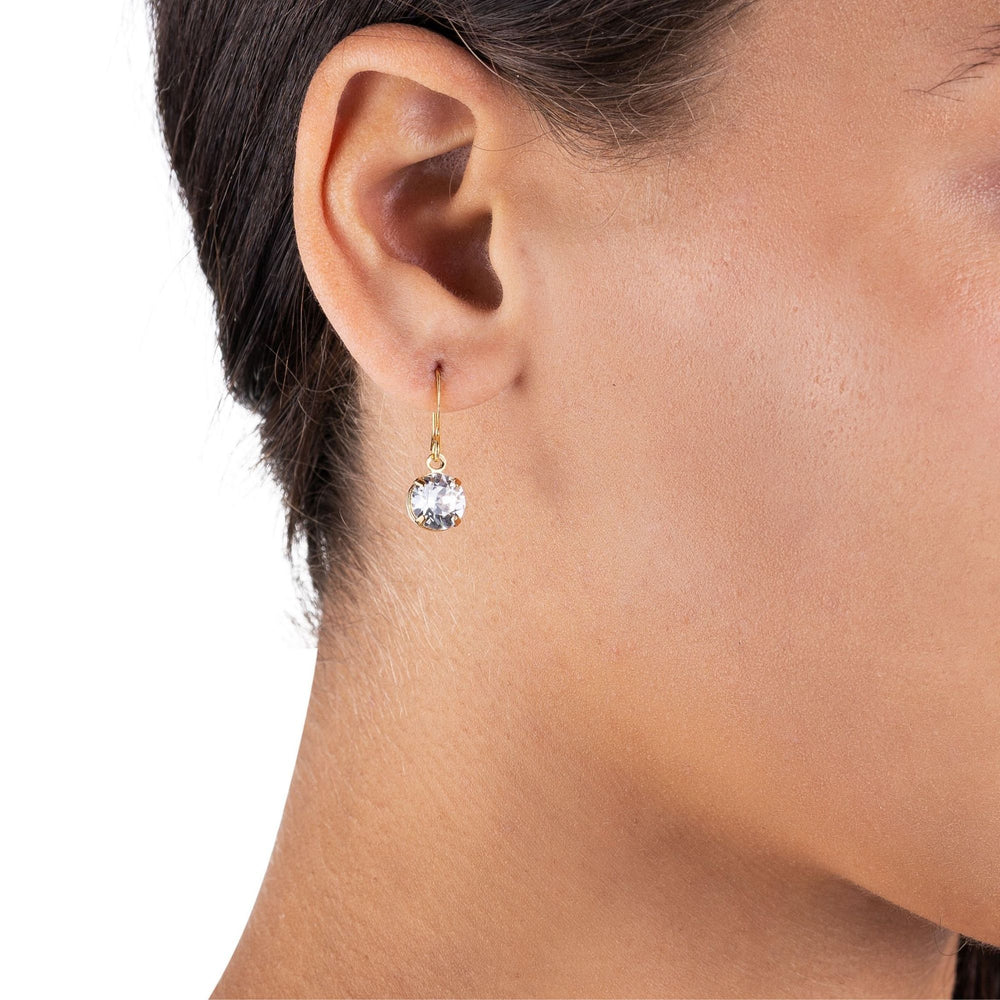
- Earring hooks (French hooks or stud bases)
- Round-nose pliers
- Chain-nose pliers
- Wire cutters
- HINT: Look for jewelry making pliers. It’s a 3 in one tool that includes all of the pliers above in one.
Step-by-Step Instructions:
1. Prepare Your Materials:
- Gather your flat head pins and beads.
- Lay out the design of your earrings on a flat surface. Decide the order in which you'll place the beads on the pin.
2. Thread the Beads:
- Take a flat head pin and slide your chosen beads, charms, or other decorative elements onto the pin. The flat head will stop the beads from slipping off.
- HINT: Small seed beads can come in handy for spacing in your design and can also be used to keep the flat head on the pin from slipping through beads that have larger holes.
3. Trim Excess Pin Length:
- Once all your beads are threaded, check the remaining length of the pin.
- Use wire cutters to trim the excess pin, leaving about 1 cm (approximately 0.4 inches) above the last bead.
4. Create a Loop:
- Using round-nose pliers, grasp the pin just above the last bead.
- Bend the pin at a 90-degree angle.
- Reposition the pliers to the tip of the bent wire and roll the wire around the pliers to form a loop.
5. Secure the Loop:
- If the loop isn't completely closed, use chain-nose pliers to gently squeeze the loop shut, ensuring there are no gaps.
- Make sure the loop is securely holding the beads in place.
6. Attach to Earring Hook:
- Open the loop of your earring hook using the chain-nose pliers by gently twisting it sideways (never pull the loop apart).
- Slide the loop of your beaded pin onto the open earring hook loop.
- Close the earring hook loop securely by twisting it back into place.
7. Repeat for the Second Earring:
- Repeat the same steps to create the second earring.
8. Finishing Touches:
- Inspect both earrings to ensure they are even and all loops are securely closed.
- Polish the earrings with a soft cloth to remove any fingerprints or smudges.
Tips:
- Experiment with different bead sizes and colors to create unique designs.
- If you want to add more dangles, you can use additional head pins and attach them to the loop you created.
Your earrings are now ready to wear or gift!